~11 The Project Page~
9/16/2024
Copy the About Page and Paste into the Project Page
Go Here to see the code for the Project Page

Turn on Sass
In Visual Studio
Remember to turn on your Watch Sass
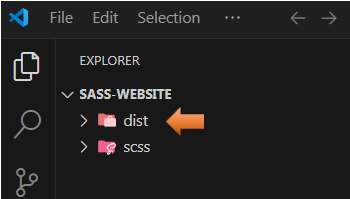
Creating the Project Page
We want to create a new file inside of the dist folder.
Create a new file
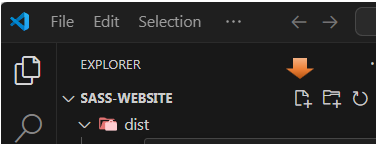
Name this file projects.html
Copy the About Page and Paste into the Project Page
We are just going to do a copy and paste from the last html page that we made. Remember in the last tutorial we created the about.html page. We will be using the same code from that page, in order to have a starting point for the project page.
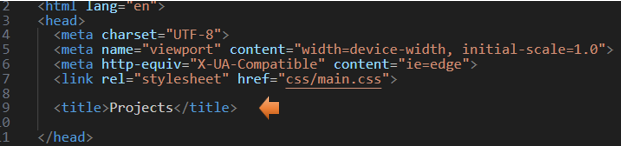
Start out by changing the title on the new project page to reflect this page
Take the active and place it on the project link.
*Watch it, make sure active is placed inside of the quotation marks and not outside of it.

Test the Menu
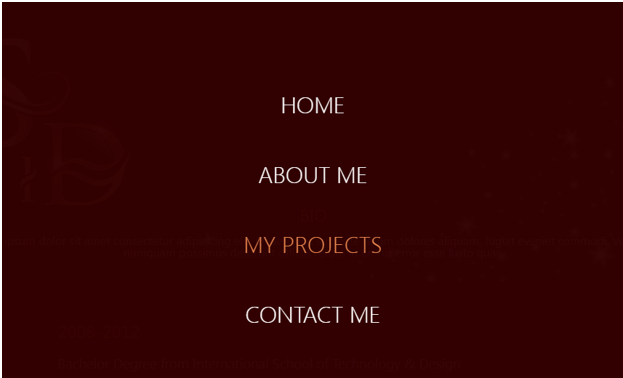
You can test the page now by clicking on the hamburger menu and making sure that the project link is indeed showing up in our highlighted color.
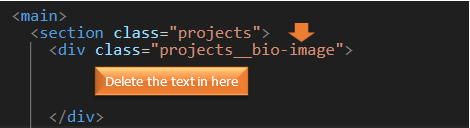
Make changes to the Class Names
Go inside of the main and then rename the section to be the class of projects.

Rename that first div to be a class of projects__bio-image.
Delete that inside div with the text that was in it.
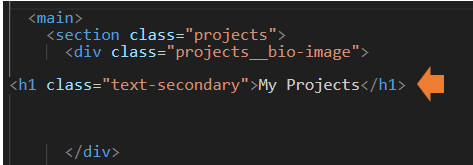
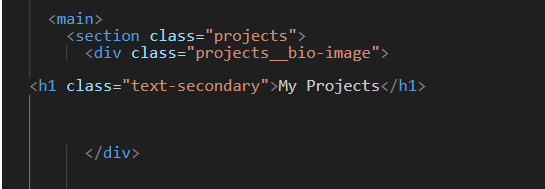
Insert text
Where we deleted the text, we will add an h1 tag
Remove all of the Jobs
We want to remove all of the code that will place the jobs on the page
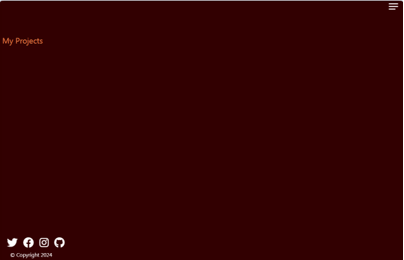
Test the Page
If we look at the page now it will look like this.
*Remember, since we changed the section to have a class of projects, we do not have very much in the way of styles…Yet.
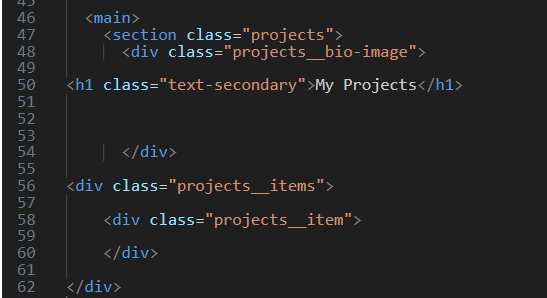
Create the div for project items and projects item
We want a div to hold all of the items, so notice the added s at the end of the word items, in the outer div, and then an inner div of just item, to hold each item.
<main>
<section class="projects">
<div class="projects__bio-image">
<h1 class="text-secondary">My Projects</h1>
</div>
<div class="projects__items">
<div class="projects__item">
</div>
</div>
To Create the items
<div class="projects__items">
<div class="projects__item">
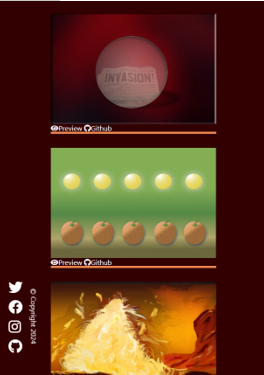
<img src="img/project-1.jpg" alt="My Project">
<div class="projects__btns">
<a href="#!" class="projects__btn">
<i class="fas fa-eye"></i> Preview
</a>
<a href="#!" class="projects__btn">
<i class="fab fa-github"></i> Github
</a>
</div>
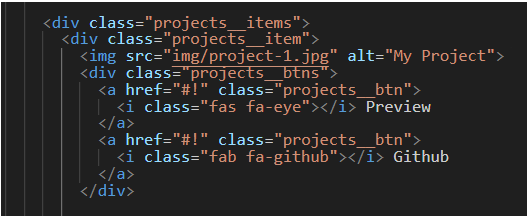
Now we want to copy that particular code 5 more times and then change each number to the image.

Testing
If you test it now, since we have no real styling, everything will come in full size and huge.

Create the SASS Partial File
Inside of the scss folder, create a new sass file.
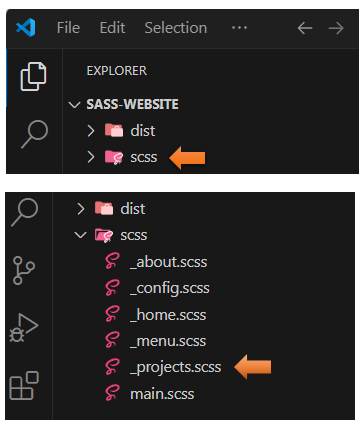
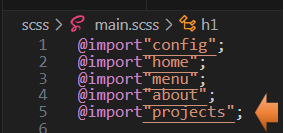
Go to the main.scss file
Import the partial projects.scss file up at the top of it.
Take the About.scss, and copy and paste it into the project.scss
There will only be a few changes between these two files, so we can start off with a copy of the about.scss file.
Change the class name to be .projects from about
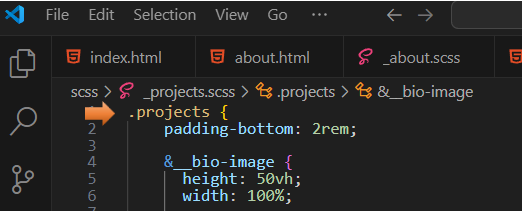
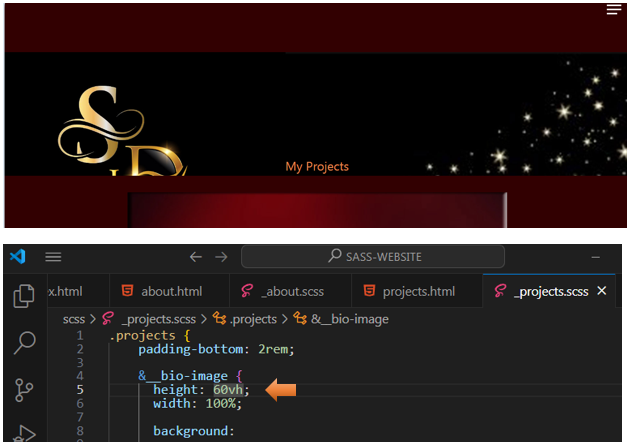
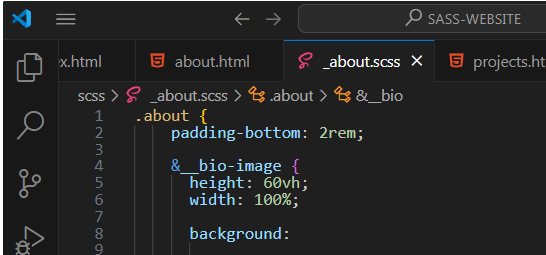
Change the height to be 60vh
This height thing will depend on your own image and what you want displayed, but I changed this to 60vh, because I found that my Logo did not show all of the way at a shorter height, when at full screen. I had left this logo fitting the space issue in on purpose, because realizing that things are not quite working right is something that will occasionally come up in your own projects, and will need to be remedied in your own SASS from time to time.
This change will need to be made on the about.scss too.
Now the SD Logo fits inside of the header.

Scroll down until you find the p rule.
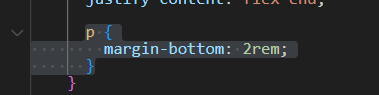
Write this rule in where that p tag was
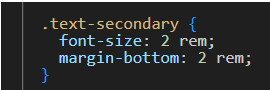
.text-secondary {
font-size: 2 rem;
margin-bottom: 2 rem;
}
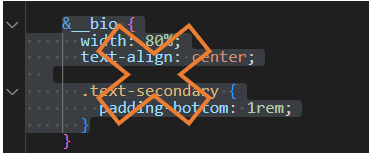
We want to remove this code here
Change .jobs rule to &__items
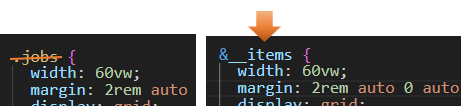
Remove the &__jobs Section
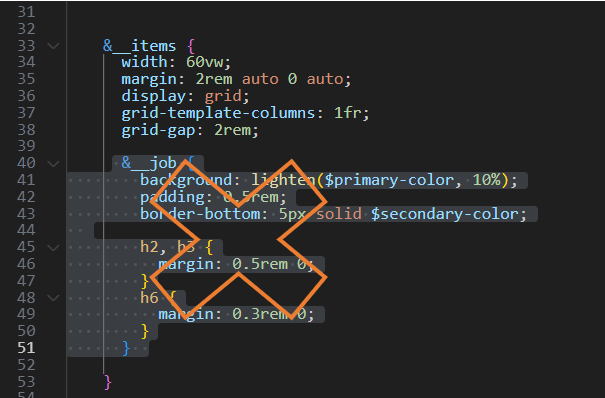
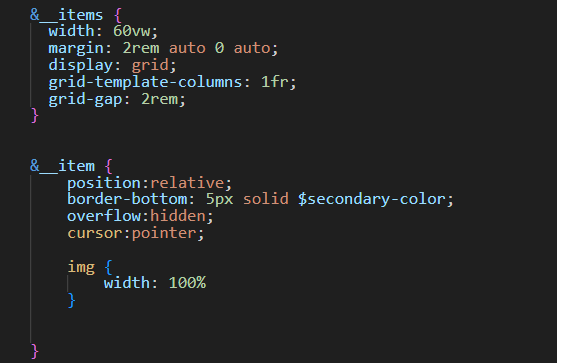
&__items {
width: 60vw;
margin: 2rem auto 0 auto;
display: grid;
grid-template-columns: 1fr;
grid-gap: 2rem;
}
&__item {
position:relative;
border-bottom: 5px solid $secondary-color;
overflow:hidden;
cursor:pointer;
img {
width: 100%
}
}
Testing
Go Here to see the code for the Project Page