~12 Creating a Project Page Overlay~
9/23/2024
Creating the pseudo element in the &__item rule
Create the hover event to show the item
Turn on Sass
In Visual Studio
Remember to turn on your Watch Sass
![]()
Creating the pseudo element in the &__item rule
This code below will be creating the overlay that will come up over the image.
Inside of the projects.scss
This code will be written inside of the &__item, and right below the closing brace for the img tag code.
&::after {
content:'';
position:absolute;
top: 100%;
left:0;
height: 100%;
width: 100%;
background:$secondary-color;
opacity: 0;
@include transition-ease;
}
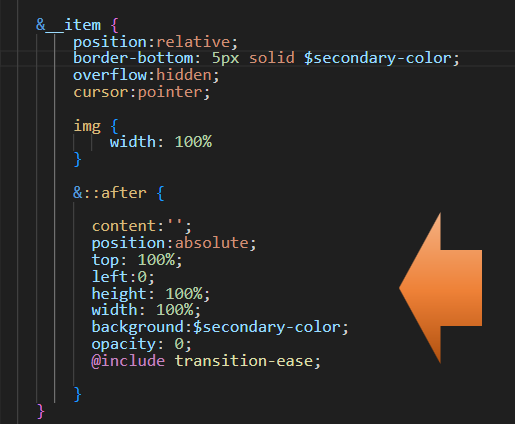
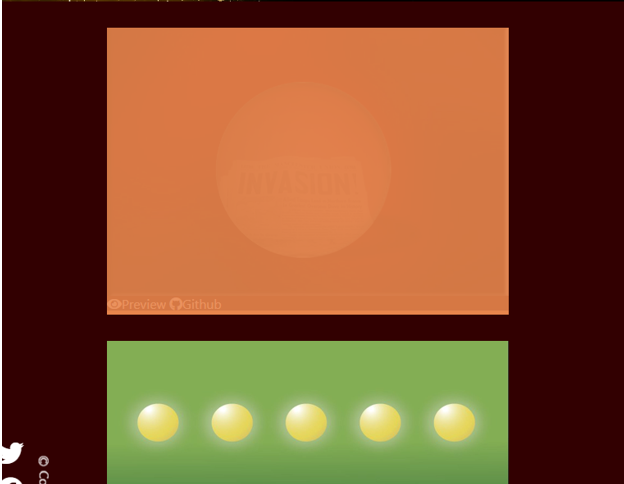
If you try and see the overlay right now on the page, it will not be showing, because the item is hidden to begin with.
Create the hover event to show the item
This will move the orange overlay upward.
&:hover {
&::after {
top: 0;
opacity: 0.9;
}
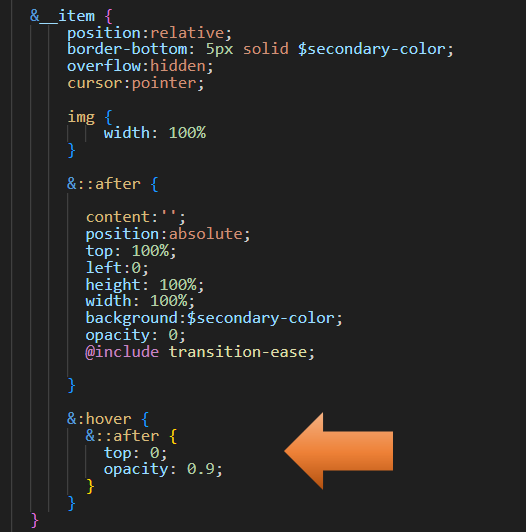
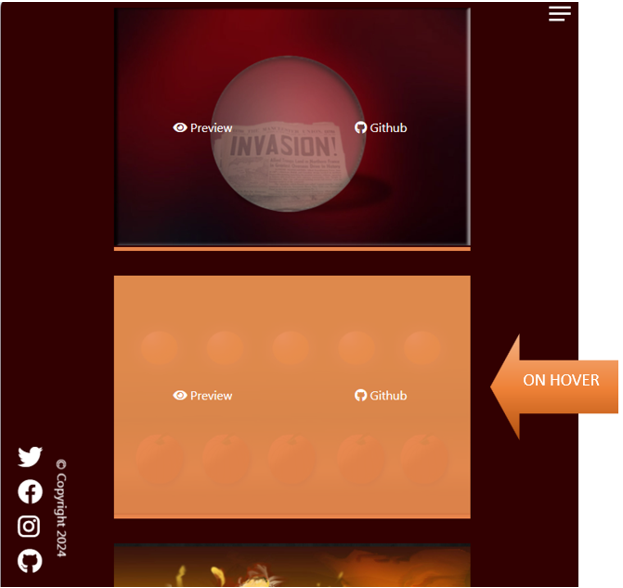
Now if you hover over it now, it will look like this
Styling the buttons
We are now going to styling the buttons on the page which are here

We will be writing this code right above the code for the .social-icons
&__btns {
position: absolute;
top:0;
height: 100%;
width:100%;
z-index: 1;
display: grid;
grid-template-columns: repeat(2,1fr);
align-items: center;
text-align: center;
}
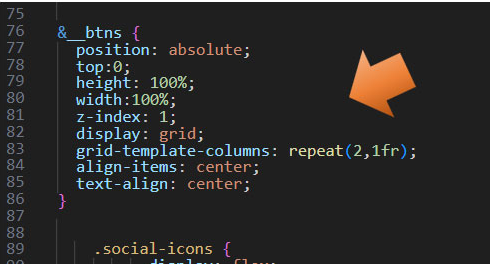
Now if you test your projects page, it should look like this.
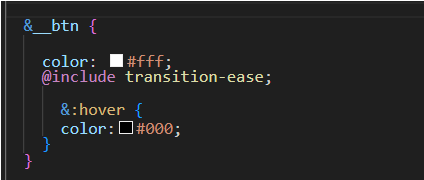
Targeting Individual buttons
&__btn {
color: #fff;
@include transition-ease;
&:hover {
color:#000;
}
Testing the Project
This is what this will look like if you hover over both the image and one of the buttons. The button color is white, and it will change to black, when it is hovered over.
