~2 Creating and Appending Elements~
10/28/2024
Our Starting Point
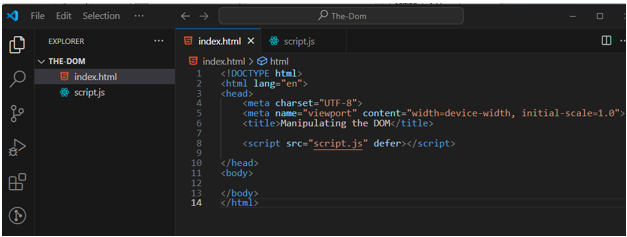
We can start here with the index page that we created in last week’s tutorial entitled:
index.html
And if you do start with that, you should already have the script file created and attached to the index file.
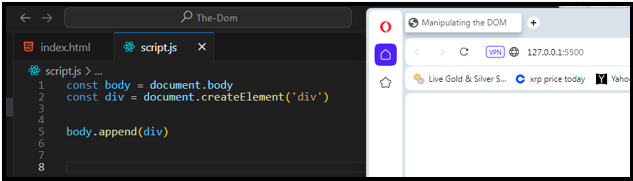
Create Element
Go to your script.js file. We will be creating an element. Here we will be using one of those things that is referred to as a node. We will start with a div tag, and create that.
When we need to create an element, we use no spacing and use camel casing to refer to createElement. Do notice, that we are attaching createElement to the document using dot notation. Also note that we are additionally using a const to assign this to the name of div. Now anytime we say div we are talking about this element, which is created and attached to the document object.
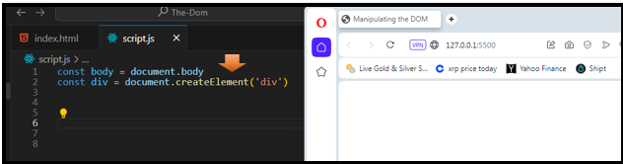
Watch it, if you look at your page now, you will not see anything. That is because you created your element but you did not add it to the page.
Append the div to the Document
Remember that first constant that we created last week to represent the body? Well, now you will see why we needed to leave that first assignment statement in there. First,
we need to create the element, but in order to actually see that element, we then need to add that element to the page. Oh, and since this is just a div, it might have a space, but until you put something in that div, you still will not actually see anything.
- Create Element
- Append Element
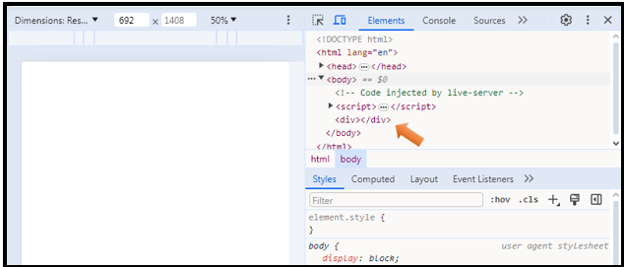
Where can I find my div?
Watch it, you will not see the div tag if you open up your index.html file and look in the body. It will not be there. That is because the code is evaluated inside of the browser. If, however you open up your “Inspect Element” in the browser, you will see the div tag was created there.