~6 Attributes~
11/26/2024
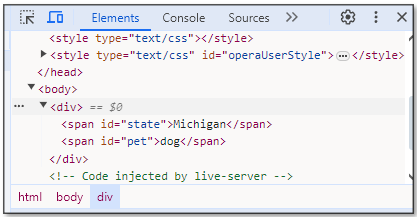
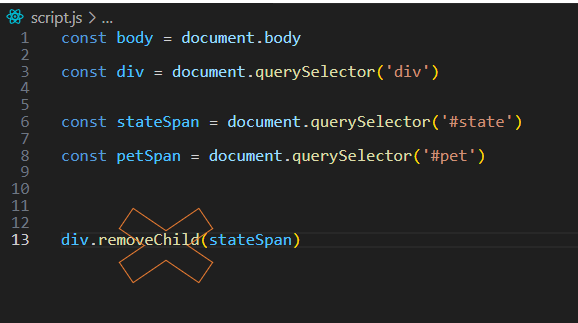
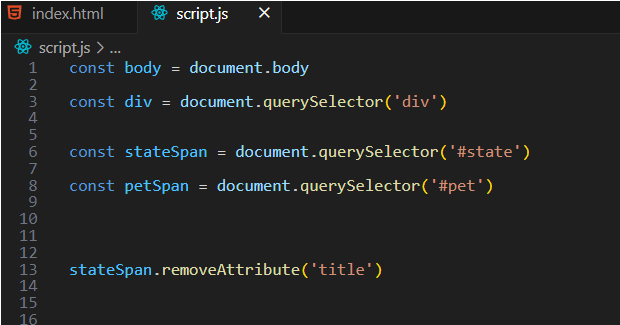
If you are following along from the last tutorial, you can remove that line in JavaScript that removes the state span.
What is an attribute?
Attributes are used to help describe something. Take a person for instance. An attribute of a person would be height, hair color, skin color, gender. But if you are looking at the attributes of a car, it would be different. The attributes of a car would be Make, Model, Color, Price and so on…
Now in computer language, or JavaScript which we are now taking a look at, an attribute is changeable, and can be set to different values. This way, we can have something like a function and have it encompass many different things. For instance, maybe we are talking about a car, but we want to be able to have properties of price, make, model and color to be interchangeable to encompass any car that we wish to talk about.
How to modify the attributes of an element
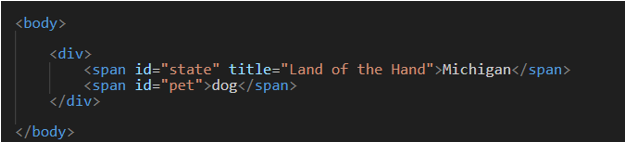
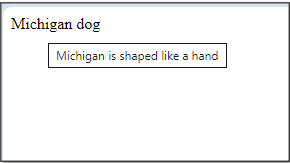
Let’s add a title to our span tag to demonstrate this. When we add a title, all that does when we hover over the text is that eventually the word that you stated in the title will pop-up next to the text that is displaying on the screen.
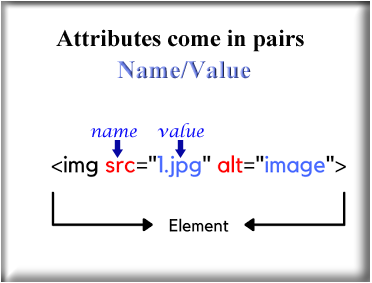
You want to add that title tag inside of your html file, notice that the id is also an attribute. Yes, it is a name value pair and it is what JavaScript can use to connect to this specific element.
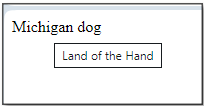
If you hover over the word Michigan, you will get this title pop-up after a few seconds
getAttrbute
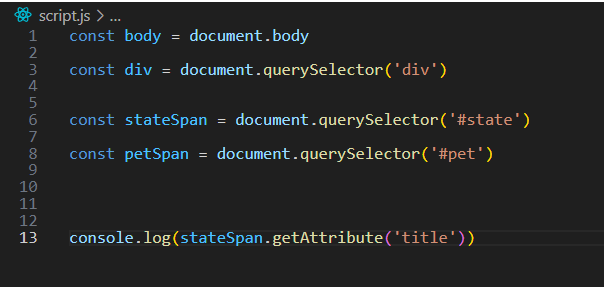
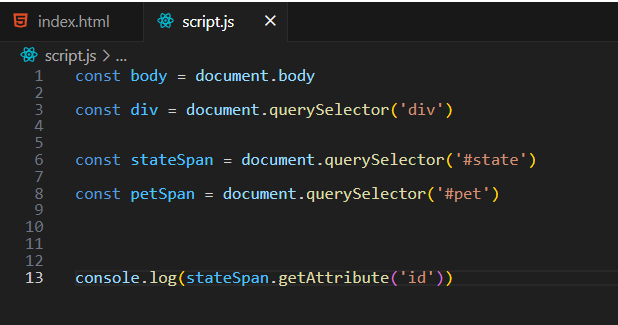
You will want to console.log the title, so write the last line in the JavaScript file to get this done.
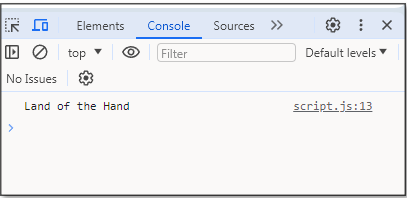
Go to your browser,
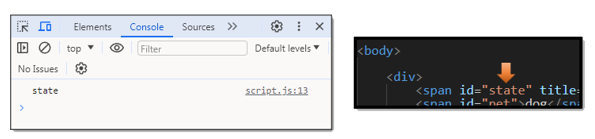
Select Inspect Element, and then click on the tab that says console. And you will see the title that we wrote out here.
The thing is that we could have asked the same thing of any attribute. ID of the span is also an attribute, so we could have put id in where we put title and had received the id instead.
See now we get state, which was our id for that span
An Easier way to get the attribute
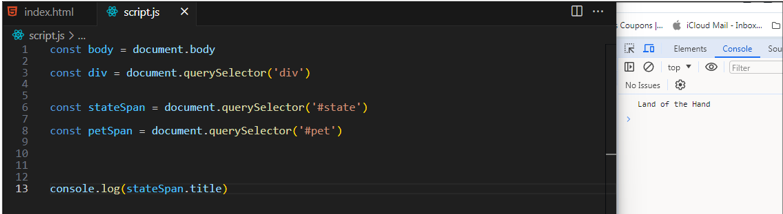
As you can see the above method does work, and if we want to impress someone, we could certainly use it. But how if we don’t feel like impressing anyone, and would just like to accomplish the same thing as efficiently as possible. Well, don’t worry because there is a method for that and it is indeed easier. Just attach the const that we used for our span created will the query selector, use the dot element and attach it to the name of the attribute in the name value pair.
As you see below, this simplified method still produces the same result. We still see the attribute displayed in our console. There is no error, or disruption.
SetAttribute
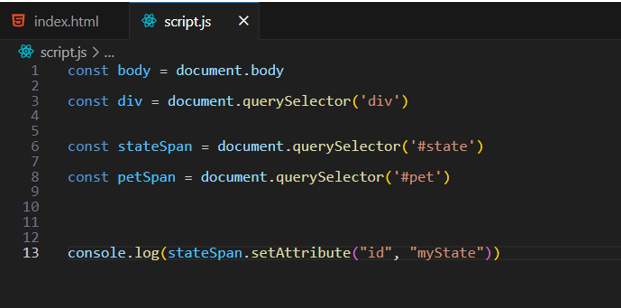
We do not even need to set the attribute at all in the html file. We could just do that in the JavaScript code. For example, how if you are a little miffed at your html file today, and just don’t want anything more to do with it. Well, then in that case I guess, you could just do all of your work in JavaScript, which you are cozying up to more and more these days.
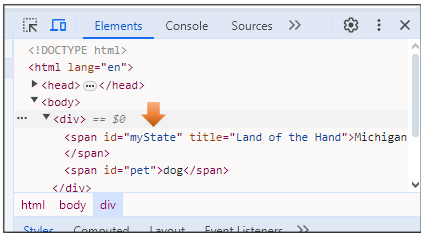
To see the changes, you will need to go to your browser’s inspect element, hit the elements tab this time, and drill down into the body tag to see your changes.
Look, you will see that the id’s value has changed to myState, when it was just state before.
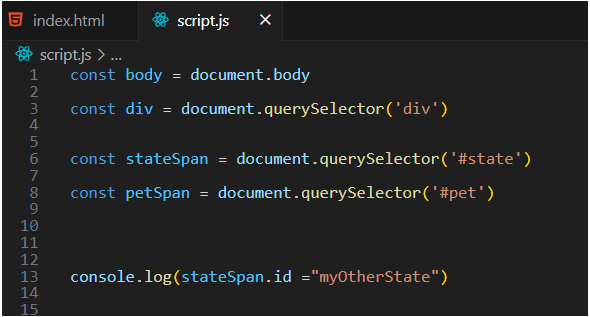
And again, there is the much simpler way of pulling this off too. Let’s change the id just a bit so we can be sure that it actually is recognizing what we are doing.

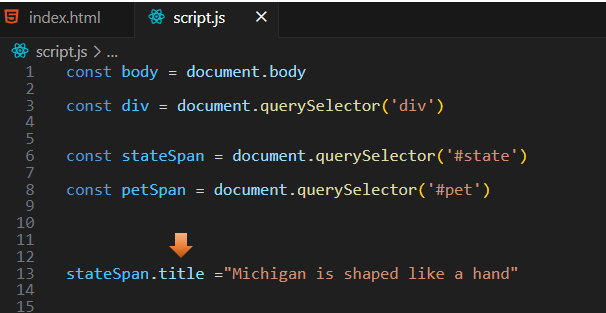
Now let’s try that with updating the title, and having it show to our web page. Just remove the method that is surrounding it for the console, and change id to title.
removeAttribute
Here we use the dot operator to attach the method removeAttribute, and put in the parenthesis, the attribute that we want to remove.
And when you take a look at things in the Elements tab of Inspect Elements, you will find that our state span no longer has the attribute of title.