~2025 Archives~
~2025 Archives~
Click here to go back to 2024 archives or forward to 2026 archives
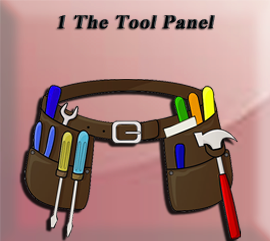
1 The Tools Panel
This week, we will be looking at all of the tools in the Tools panel, in Object mode, while working in Blender. Blender is a huge program and it can be quite over-whelming, when you first look at it. So, I will be taking my time and trying to take baby steps in trying to explain this immense program.
So, if you would like to learn a bit more about what this Tools panel is all about when we are in Object mode, then please join me for my brand-new tutorial entitled:
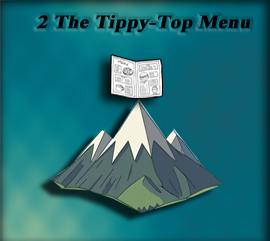
2 The Tippy – Top Menu
This week, we will be looking at the Tippy Top menu in Blender, I will explain what they are and where they will lead. It is always a good beginning to look at the menus in any program that you are about to get into. Although Blender is very good, it is also massive, and you will start to get an idea of just how massive it really is, as we explore the different avenues that these menus buttons will lead you to.
So, if you would like to start really diving into this awesome program of Blender, then please join me for my brand-new article entitled:
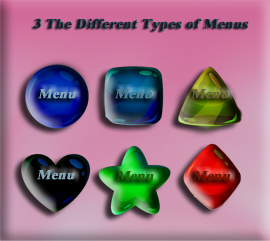
3 The Different Types of Menus
This week, we will be taking a look at the vast number of menu systems that Blender incorporates inside of its interface. Each workspace will present a different version of menus specific to the work that is done while in those spaces. This week, we will basically be focusing on the different menu systems that are available while in Object mode.
So, if this sounds at all interesting to you then please join us for our brand-new article this week entitled:
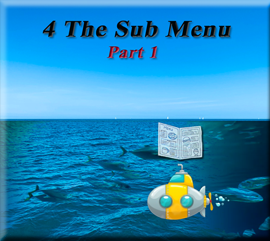
4 The Sub Heading Part 1
This week, we will be taking a look at the Sub menu. This menu is also a header menu but it falls directly under the main heading. The heading has so much stuff in it, I have decided to take a look at it in sections. This will be the first part of this sub heading tutorial.
So, if this is something that sounds at all interesting to you then please join us for this week’s tutorial entitled:
4 The Sub Menu Part 2
This week, we will be taking a look at part two of the submenu. This section deals with Transform Orientation, the pivot point, and snapping. Having this stuff in an easy reach menu makes things a whole lot easier when modeling in 3D.
So, if this sounds at all interesting to you then please join us for this week’s article entitled:
The Sub-Menu Part 3
This week we will be looking at the final section of the sub-heading menu in Object mode. The Blender application is so vast that even a sub-menu needed to be broken up into bite-sized pieces in order to not overwhelm anyone trying to take on the venture of trying to learn this program. This section deals with options dealing with Gizmos, Overlays, Viewing Mode Options, and the tools on the right side of the viewport.
So, if this sounds at all interesting to you, then why don’t you join us for our brand-new article entitled:
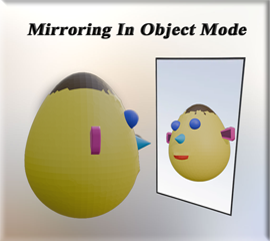
Mirroring In Object Mode
This week, we will be taking a look at how we can mirror an object in Object mode, without having to resort to a Mirror Modifier. I will be demonstrating two different methods.
So, if this sounds at all interesting to you then please join us for our brand-new article this week entitled:

The Extrude Tool
This week, we will be starting to look at the Blender program in Edit mode. The first thing that we will be exploring is the Tools menu and the differences of this menu than the one that we were introduced to in Object mode. Oh, you will see some of the same tools in there as we had before, but edit mode comes with a lot more tools packed in its side menu. This week we will spend some time into looking at the extrude tool, and how we can use it to mold our objects into something really useful.
So, if you would like to start looking at this menu then please join us for our brand-new article entitled:

The Inset Face Tool
This week, we will be taking a look at the Inset Face Tool, while in Edit Mode, in Blender. This is a really nice tool because we can take a face and make another, inset face inside of it. Not only does it create a face, but this face is new geometry on the 3D model, which we can use to further manipulate and mold our object into the desired outcome.
So, if this sounds at all interesting to you then why don’t you join us for our brand-new article this week entitled:
The Bevel Tool
This week, we will be taking a look at the bevel tool inside of Edit mode in the Blender program. With the bevel tool, we are able to create beveled edges using both the edge mode and the vertex mode.
So, if you would like to learn a bit more on how to use the bevel tool then please join us this week for our brand-new article entitled:
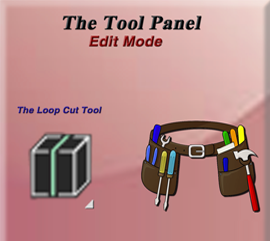
The Loop Cut Tool
This week, we will be taking a look at the Loop Cut tool in the Edit mode, inside of the Blender 3D Modeling application. This tool is used to create additional edge loops. You could use sub divide, but using the sub division method creates unified quad sections within your object. If you want more control over how many, or where your edge loops are placed, you are going to want to use the Loop Cut tool. You will soon find that this tool is one of your most essential tools inside of your edit mode tool box.
So, if you would like to learn more about using this tool, then please join us for this week’s brand-new article entitled:
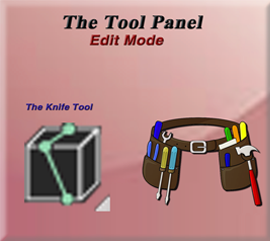
The Knife Tool
This week, we will be taking a look at how to use the Knife tool, while in Edit mode, inside of the Blender application. Sometimes you will find that the sub divide option in blender isn’t quite as specific as you need it to be, and instead of uniform divided sections, you may need something a bit more customized. And this is where the Knife tool comes in.
So, if this sounds at all interesting to you, then please join us for our brand-new article entitled:
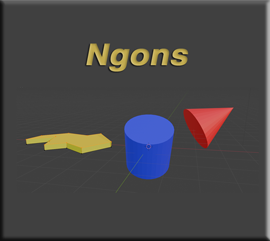
NGons
This week, we will be jumping temporarily outside of learning the Tools panel in Edit mode, inside of Blender, so that I can bring you into an important concept concerning Ngons.
Ngons are sometimes thrown at you on purpose by Blender, and sometimes you may unintentionally create them yourself. The thing is that these things are not 4 sided quads, and Blender for the most part prefers 4 sided quads. The problem with these things is that they tend to ignore some of your procedures, like loop cuts. This can be frustrating; in this tutorial I will try to present some work arounds for this problem.
So, if this sounds at all interesting to you then please join us for our brand-new article this week entitled:
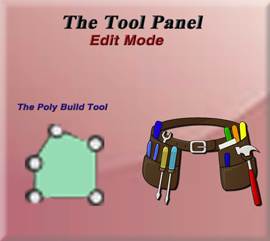
The Poly Build Tool
This week, we will be looking at the Poly Build tool, which we can get to by going to the Tool box in Edit mode while working in Blender. This tool is great for creating new topology from scratch, and combines a few tools together into one, in order to work more efficiently in Blender.
So, if this sounds at all interesting to you then please join us for our brand-new article this week entitled:

The Spin Tool
This week, we will be taking a look at the Spin tool, in Edit mode, while working in the Blender application. The spin tool will take any object, vertex, edge, or face, look at where cursor location is, and spin the chosen piece of mesh around that cursor location.
So, if this sounds at all interesting to you at all, then please join us for our brand-new article entitled:

The Smooth Tool
This week, we will be looking at the Smooth, and Randomize tool (which sits in the Smooth tool’s dropdown), in Edit mode. This may not exactly be the best way to smooth your mesh while you are working, but it is available to you, since Blender will offer it in their tool box arsenal.
So, if you would like to take a quick glance into this tool, then why don’t you join us for our brand-new article entitled:
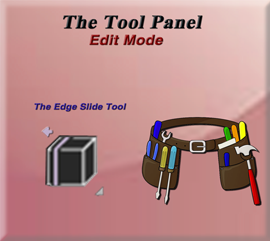
The Edge Slide Tool
This week, we will be working with the edge slide tool. This is just a simple little tool that allows you to slide one edge of a box easily to give it that slanted roof look.
So, if this sounds like something that you might be interested in looking in to, then please join us for our brand-new article this week entitled:
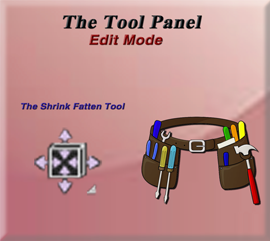
The Shrink and Fatten Tool
This week, we will be taking a look at the Shrink and Fatten Tool, which is located in the tool box of Edit mode, while working in the Blender application. This tool will allow you to enlarge or shrink the look of your image by moving the vertices along the normals. This movement is made by all vertices moving the same distance either outward to fatten your object, or inward to remove weight from an object.
So, if this seems at all interesting to you then why don’t you join us for our brand-new article entitled:

The Shear Tool
This week, we will be dealing with the Shear tool. We can find this tool near the bottom of the tool box when we are in Edit mode. What this tool does essentially is to tilt a face so you can have what ever is attached to it veer off into another direction. Or you can just simply use it to add a tilt to one of your object’s face.
So, if this is something that you would like to learn more about then please join us for our brand-new article this week entitled:

The Rip Region Tool
This week, we will be looking at the very last tool in the Edit mode’s Tool box. At the bottom of the list, you will find the tool named Rip Region, and that is the one that we will be paying particular attention to in this tutorial. This tool, will not only rip a region open, but it will copy the vertices that are selected and duplicate them. In this way it is able to form a type of ridge, or border around the ripped hole.
So, if this sounds at all interesting to you, then please join us for our brand-new article this week entitled:

The Sub Menu
This week, we will be taking a look at the Sub menu. Like the Object’s modes sub menu, this menu is a bit intense. Some of the items you will find to be familiar to the Object’s modes own sub menu. But then there are other things in this menu, which you will find are quite different, and only make sense when being placed in this workspace. This menu is also a header menu, but as a sub menu it falls directly under and contains more specific items to the workspace.
So, if this is something that sounds at all interesting to you then please join us for this week’s tutorial entitled:
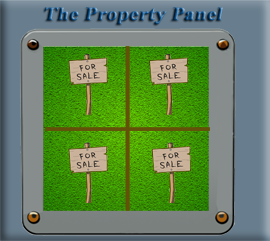
1 Overview – Property Panel
The Property panel in Blender is a panel, which is located below the Outliner, on the right-hand side of the application. This panel contains many categories, represented by tabs, in which you can make changes to the many different properties in the active scene, or object. You can view tools, make changes to objects dimensions, change camera and light settings and a whole lot more.
So, if you would like to learn more about this panel then please join us for this week’s article entitled:
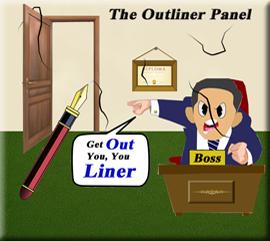
The Outliner
You might think that this Outliner panel is just a simple list of what you can see in the viewport, but it is a lot more then just this. The outliner can allow something to be seen or even selected. You can organize and manage different elements in the outliner and you are even able to enter different modes from here, like selecting an item and going into the edit workspace.
So, if you would like to learn a bit more about what you are actually do within this panel, then please join us for our brand-new panel entitled:

Bringing in a Reference Image
This week, we will be taking a look at how to bring in a reference image. To begin most of your projects, you are going to want to be able to bring in something that you can use to work off of to create your idea. This would be your refererence image, and it does take a few steps to get these reference images into your project correctly.
So, if you would like to learn just how to bring these images into your project, then please join me for my next project entitled:
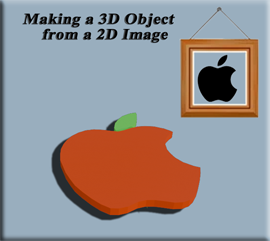
Making a 3D object from a 2D image
This week, we are going to do something simple in edit mode, and show you how you can trace an image. We will be starting with a cube and turn that into a single vertex, where we can extrude and make more vertexes to trace around the object.
So, if this is something that you would like to learn how to do than please join us for our brand-new tutorial entitled:
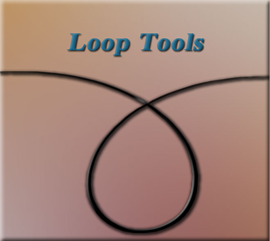
Loop Tools
For the next few weeks, we will be looking into another aspect of Blender, and what we are able to accomplish using it. Loop tools are like a little tool box which is available to us if we want it. They are not automatically given to you and you will have to turn these things on through Settings and then the Add-ons menu. But they are well worth the extra bother.
So, if you would like to learn a little more about this tool then please join us in our brand-new article entitled simply:
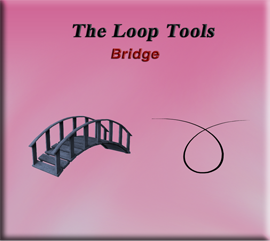
Bridge
This week, we will be working with our first tool in the Loop Tools options. This is called the Bridge tool, and some may view it as one of the most powerful tools that are available in this collection. But personally, I like a lot of them. This tool is used to connect edge loops or face groups. It can also be used to cut holes in your 3D Objects.
So, if you would like to learn a little more about this tool then please join us in our brand-new article entitled simply:
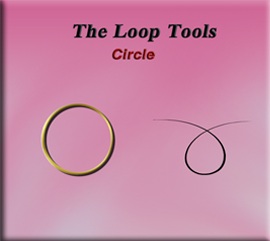
Circle
This Week, we will be working on another one of the Loop Tools. This one is the second one in the submenu for this tool, and it is called Circle. The reason that it is called this is because this tool will add circles or loop shapes to the mesh of your object by adding loop cuts to them and shaping it into a circle.
So, if you would like to learn a bit more about this tool then please join us for our brand-new article this week entitled:
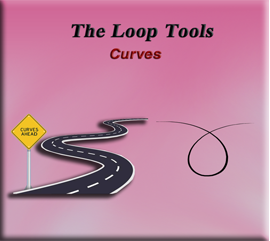
Curves
This week, we will be working on another tool that you can find in the Loop tool arsenal. This time it will be dealing with creating curves. You can click on two or more vertices to create a curve while using this tool.
If you are interested in learning more about this topic then please join us for our brand-new article entitled:
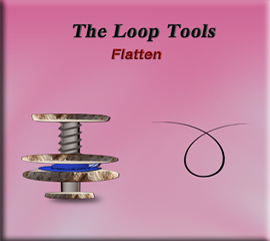
Flatten
This week, we are still in our Loop Tools arena. This time, we will be taking a look at a submenu tool that goes by the name of “Flatten” This thing does exactly what you would expect something that was named “Flatten” to do. It will take your mesh and make it be all crinkled up, and flatten the mess out of it.
So, if you would like to learn a bit more about this tool, then please join us for our brand-new article this week entitled:

Loft
I know we are supposed to be on the G stretch tool this week, but because we are working with 2 different companies: Blender and Loop Tools, they are not Insync at this time. Blender updated some tools for G stretch tools to work, and the company that has Loop Tools, has not made any changes. Therefore, G stretch tools are not working at this present time.
So, instead I hope you will join us for our next tool in line, and this week’s brand-new article entitled:

7 Relax- Ummm.. Err…. Smooth Vertices
Ok, with this particular tool, I will be doing things differently. This is because I found Blender’s method to straighten these vertices, is a whole lot better than Loop tools version. So, instead of showing you the Relax tool in Loop tools, I will instead be introducing you to the Smooth Vertices method inside of Edit mode.
So, if you would like to learn how to straighten out some Vertices in Blender than look no further than our brand-new article entitled:
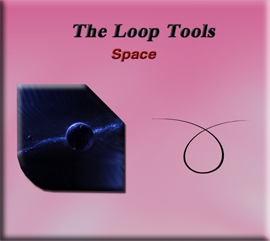
8-Space
This last tool inside of Blender’s Loop tool add-on, is called Space. The Space tool, will take a range of vertices and attempt to space them out evenly. This is a fairly simple procedure, and will help to guide you in the direction of spacing out some wayward vertices.
So, if you would like to learn a bit more about this then please join us for our brand-new article entitled:
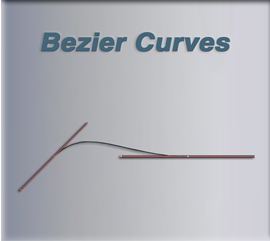
2 Bezier Curves
This week, we will be starting to learn how to actually use a Bezier curve. Last week, we brought a Bezier curve into our project, but then we threw it away, and were able to draw a curve, instead. This week will be different as we do a much deeper dive into those Bezier curves themselves, and how to go about using them.
So, if you would like to learn just a bit more about Bezier Curves then please join us for our brand-new article this week entitled:
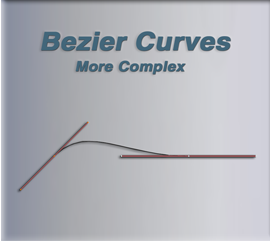
3 Bezier Curves More Complex
This week, we will be diving a bit deeper into these Bezier Curves, as we learn to manipulate them with more precision.
So, if you would like to learn just a bit more about Bezier Curves then please join us for our brand-new article this week entitled:
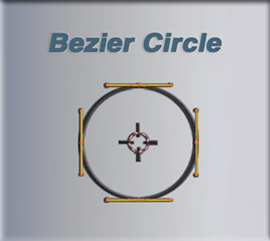
4 Adding the Bezier Circle
This week, we will start working with the knowledge that we have learned this far, in the last couple of tutorials on Bezier Curves, and begin to start making our shape. This shape will be quite in depth to build so I will be breaking it down into several tutorials. This first one will deal with adding a Bezier Circle to our curve.
So, if you would like to learn just a bit more about Bezier Curves then please join us for our brand-new article this week entitled:

5 Learning More Advanced Techniques for Beziers
This week, we will be working on a few more advanced techniques for working with our Bezier curves. Nothing too hard, just a continuation to the things that we have already learned so far.
So, if you would like to dive deeper into these Bezier curves, then please join us for our brand-new article this week entitled:

6 Continuing to Learn More Techniques
This Week, will be the same thing, just learning more techniques that can be used when we go about creating our own curves. We will be concentrating more on the top section of the curve, and adding another circle Bezier curve to that one as well.
So, if you would like to learn even more about these Bezier Curves, then please join us for our brand-new article this week entitled:
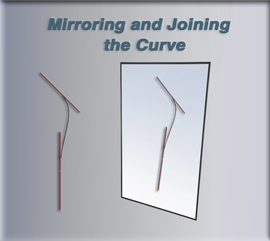
7 Mirroring and Joining the Shape
This week, we will be concentrating how we can mirror the left side of our shape, to create a precise duplicate to form the right side of the shape. We will also be taking those two sides and joining them together.
So, if you would like to learn a bit more on this topic, then please join us for our brand-new article entitled:

8 Fill and Cut Hole in Form
This week, we will be taking a look at how we can fill the shape that we just created last week, by joining the two sides of our mirrored curve together. Then, after filling that shape, we will be creating a small hole in it.
So, if you are interested in continuing on in this journey into turning those curves into shapes. Then please join us for our brand-new article this week entitled:

Inside the Company Store: Demystifying Tkinter Docs
This week, I have a tutorial pertaining to Programming. Yes, we are jumping off of the graphic arts train for a little bit, and going a bit on the wild side. Or that is the programming wild side. This week, we will be learning how a programmers actually finds the code he needs to begin to write his Python and Tkinter projects. Libraries of code can be quite vast, and you don’t really need to know everything. A lot of the things that you find that you will want to perform in programming is already written for you. If you know where to look. And this is just what this tutorial is all about. Helping you find the path to start writing your code..
So, if this sounds interesting to you, then please join us for this week’s article entitled:
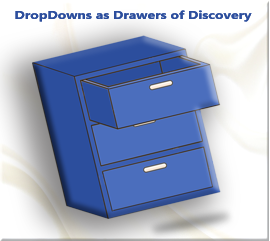
Dropdowns as Drawers of Discovery
This week, we will be taking a look at how we can get a dropdown Combobox into a Tkinter, Python project. It isn’t really as hard as you might think. We will also review, how we can get the options given in the Combobox, be returned in a label.
So, if this is the sort of thing that would be at all interesting to you then please join us for our brand-new article entitled:
Buttons as Brushstrokes
This week, will be a very short tutorial explaining how we can create a simple button that will display a message to a label. It’s really not as hard as you might think. Tkinter has a library, and all we need to do is to import it, and then we have the button that we need to work with. Oh, but how do you get that button to work?
You can read all about it if you would like to join us for this week article entitled:
Frames as Canvases
This week, we step into the studio and learn how to build frames in Tkinter—your canvas for layout, structure, and building projects in Python.
So, if this is of interest to you, then why don’t you join us for our brand-new article this week entitled:

Labels, the Unsung Heroes of UI Forms
This week we will be learning how to place a label onto a form using Tkinter, and Python in Visual Studio. It’s not really that hard. Then we are going to take that label and bind it to a click event, so that you can see the text in the label change.
So, if this is something that you would be interested in learning, then please join us for our brand-new article entitled:
The Main File
This is the beginning of a series on creating a Tool Tip, in tkinter and python. And this will be the first week of this series. I suppose we should start at the beginning here, and so this week we will create the ‘main file’ in Python. This file is like the doorway to your project.
So, if you would like to learn a bit more about Python and how to create the first file for this project, then please join us for our brand-new article this week entitled:
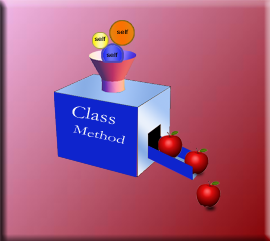
The Tool Tip Class
This week, we will be starting to take a very in-depth look at a class, to be more specific this will be a Tkinter programming class, that we will be creating for our Tool Tip, A class will enable us to easily create any type of tool tip that we want. We could consider this as the Tool Tip factory. Anytime we need a new type of tool tip, all we have to do is to call on this class and it will create it for us.
So, if you would like to learn a little more about this magical Tool Tip making factory, then why don’t you join us for our brand-new article entitled:
3 The Methods
This week, we will be taking a look at the methods that we will be using to make the tooltip. The methods, are little self- contained instructions that will tell another part of the code, how it should do something. You call these little instructions and all of the sudden who ever calls it knows exactly how it is to perform the recipe contained in the method. These specific instruction will tell a tool tip, how to be a tool tip.
So, if you would like to learn a bit more about these magical little instructions, then please join us for this week’s article entitled:

4 Themes
This week we will learn how to write a simple script to apply a theme to our Tooltip. It is not very hard, and gives the little tooltip more visual appeal, and personality.
So, if you are interested in learning a bit more about this subject, then please join us for our brand-new article entitled:

6 Keyboard Navigation
This week, we will be taking a look at how we can implement key board navigation into our python/Tkinter application. This is an extension on our last and will give more accessibility to user who either rely on screen readers or for some reason do not have access to a mouse.
So, if you are interested in enhancing your program in this way, then please join us for our brand-new article entitled: