~2024 Archives~
Click here to go to 2025 archives
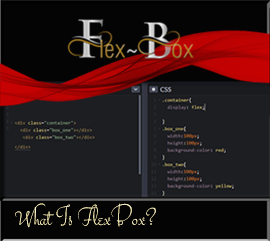
1 Flexbox-Fundamentals
This week, we will be looking at flex-box, and its fundamental aspects of it. What does flexbox see when it is looking at its code? Why do we use the properties that we use to talk to flexbox?
Foundational concepts might not be the most interesting of things to be studying when it comes to this styling ideal. But getting a strong foundation for what we are trying to achieve is very important, remember if your foundation is not sturdy to begin with, your entire learning house-of cards could come crashing down to the ground.

2 Flex-Box Properties Foundations
This will be part 2 of our series on flexbox. Now we start getting into more of the interesting working of this styling technology with a few properties. We will first take a look at the old way of doing things with using block and inline blocks, and then give you a taste of how things are done with flexbox. If this is the sort of thing that you have been just waiting to learn for your self then please join us for our brand-new tutorial entitled:
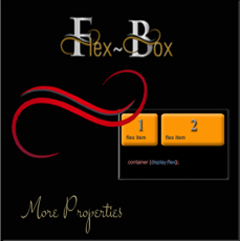
3 More Flex-Box Properties
This week we will be presenting the third part of our series on flexbox. Last week we showed you just a taste of what using properties of flexbox was like. This week, we will be looking at a whole lot more of those properties, and showing you some examples in both HTML and CSS, so you can test some of this stuff out for yourself. I hope you will find this little journey interesting, and that you will join us for our brand-new article entitled:
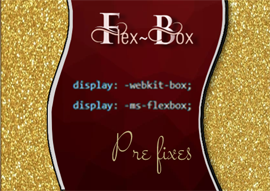
4 Working with all Browsers
This Week, we will be taking a look at how we can use Autoprefixer with Visual Studio to help us automatically add all of the prefixing to our CSS. This can be very helpful, especially since technology in side of the web designing world will change in a heartbeat, and when it does, all browsers have not quite caught up with what we are trying to do. This is where Autoprefixer can help. We can install it into our Visual Studio and it will take our CSS page and make all of the changes for us. In that way, we can work with the latest stuff, and Autoprefixer will fix things, where everything just works.
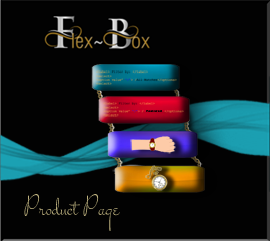
5-Flex-Box Product Page
If you have a website, and need to learn how to insert a responsive product page into that site, then this will be the perfect tutorial for you. This week, we will be learning how to write a code to display a grid-like layout of images with their product information.
So, if you need a bit of product design, using flex-box for flexibility then please join us for our new article this week entitled:
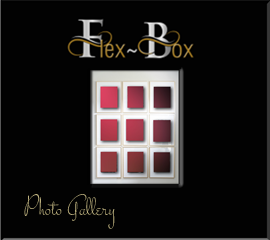
6 Flex-box Photo Gallery
This week, we will be taking a look at how we can create a Photo Gallery by using flex-box, and having it handle all of the heavy lifting of resizing each image to accommodate the display space provided from each of our devices. You may have a desktop, tablet, or cell phone, and yet your images will always fit neatly into each one of them.
So, if this is something that you might be struggling with how to do, or just want to learn a new technique, then please join us for our new article entitled:
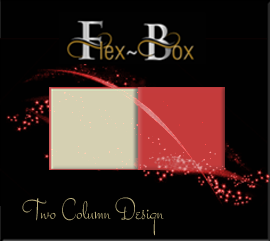
7 Two Column Design
This week, we will be taking a look at how we can go about creating a two-column design using the responsive technology of flexbox. If you need something which will incorporate an image with a descriptive message, then a two-column layout would be the perfect solution for you.
We would love for you to join us this week as our new topic will be exploring just that, and entitled:
8 Web Page Design
This week, we will be taking a look at how we can create a web page using flex-box. Some of the magic that will be seen will be created using media queries, but most of it will be flex-box.
So, if you have a desire to create a web page for your own site using this great new technology, then please join us for our brand-new article entitled:
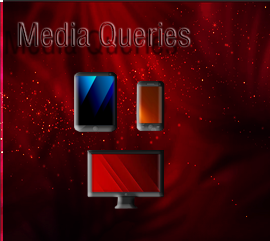
Media Queries
This week, we will be taking a look at Media Queries, and how they can help us further aide in making our web pages more flexible for different devices. Flex Box is great, but as of yet, it cannot handle every situation, and this is where Media Queries come in, and they can be a fantastic help in covering certain conditions of our web site design.
So, if this is something that you might want to learn a bit more about, then please join us this week for our brand-new article entitled:
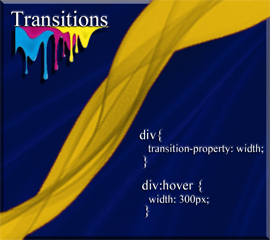
CSS Transitions
This week we will be taking a look at how we can create a few simple animated effects, by taking advantage of a property known as transitions. Ok, there are a few more properties that will move things around on your pages that we will also be going into; such as, transform, and translate. But in essence this will be a fairly simple basic over view on how to get things moving on your web sites.
So, if this is something that might interest you, then please join us for our brand-new article entitled:
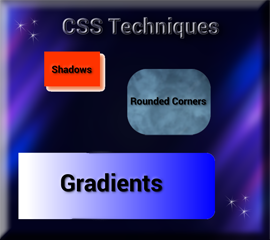
A few CSS Techniques
This week, we will be taking a look at a few fancy CSS techniques that would make our pages more engaging. Things like, shadows, rounded corners and even a few gradients.
So, if this sounds like something that you would like to learn more about then please join us for this week’s article entitled:
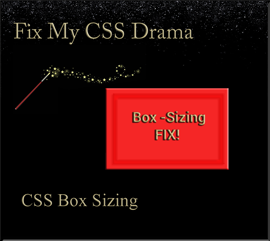
Box-Sizing
This week, we will be taking a look at some really weird measurement behavior from CSS, and using a technique called Box-Sizing to fix it.
So, if you are being driven crazy from things going berserk after adding a border, or padding to a box, you may want to join us for our brand-new article this week entitled:

1 Installing the Programs for SASS
This week will be the first in a series of articles that I will be writing on SASS. SASS is a way of being able to take your regular CSS file, and reduce the redundancy of the code by using variables and other techniques. It is an advanced version of writing CSS, but nothing to be afraid of. Soon you will be able to write this style of code easily and like an expert.
So, if this is something that would interest you, then please join us for our new article this week entitled:

3 Shortcut Cheat -Sheet
This is the third week on the topic of SASS. This week, we will be looking at some of the common shortcuts that are provided by Emmet in Visual Studio Code that will make your code writing a whole lot simpler. And you do not even have to install Emmet to have it work. Visual Studio Code had decided that this extension is so important, and such a great time saver that it comes pre-installed inside of VS code.
So, what are you waiting for? If this is something that you would like to be able to use for yourself, then please join us for our brand-new article entitled:
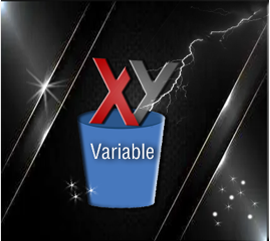
4 Variables
This week will be another installment of this journey through SASS. This week, we will be taking a look at variables and how we could go about using them to simplify our design process.
So, if this might be something that would interest you, then please join us for our new article this week entitled:

5 Nesting
This week, we will be taking a look at how we can use nesting to further organize some of your CSS rules in SASS. Nesting can be great, but don’t get too carried away with it, because it can become a bit of a hinderance especially if you attempt to overuse it in large files.
So, if this is something that you would like to look into to see if you would like to use it in your own project, then please join us for our brand-new article entitled:
6 Separating Files
This week, we will be taking a look at how we can separate our files into individual modules. This will make things work faster and better. In addition, it can be very helpful for large projects where you have several different developers building the app. This way each employee can take their own piece of the pie (so-to-speak) and piece it back together to make a better whole.
So, if this sounds like something that would interest you, then please join us for our new article entitled:
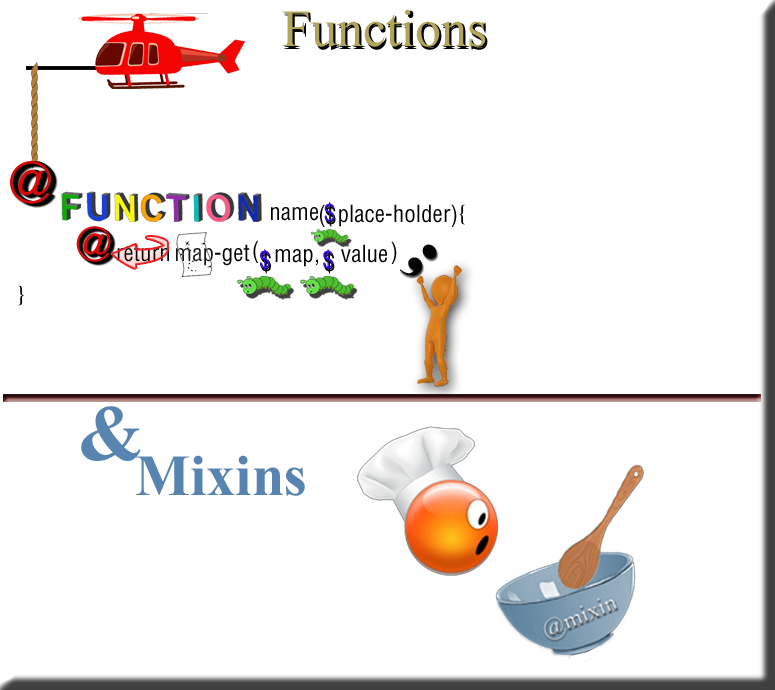
7 Functions and Mixins
This week, we will be doing a deep dive into functions and Mixins, and how they work when working with SCSS.
So, if this is something that you would like to learn more about then please join us for our brand-new article entitled:
8 Switching Between Themes
This week, we will be taking a look at how we can switch between themes in SCSS. This would be an interesting way to accommodate people who might have difficulty with vision. It is a great accessibility addition to your websites.
So, if this sounds as if it would be interesting to you, then please join us for our brand-new article entitled:

9 Using a Mixin for Media Queries
This week, we will be looking at how to use mixins with media queries. If you have different devices, you will need your layout to display at different widths for each of these different formats. In this tutorial, we will be writing some mixin code to easily switch between the layouts of desktop and cell phone, and it even handles the unique sizing for the tablet as well.
So, if this is something that you would like to take a more in-depth look at, then please join us for our new article this week entitled:

10 Extensions
This week, we will be looking at how to extend a class. In other languages, you might know this by the terminology of “Inheritance”, but SCSS likes to be a tad bit different and call it extending a class. If you are unfamiliar with this method, it is a way in which we can take all of the styles from one class and put it into a second class. This is done by simple stating that we want to @extend it. Then once this type of copying is accomplished, then we can take our second class and add some more styles to it, to make it more customized to what we are attempting to do.
So, if this sounds like this would be of interest to you, then please join us for our brand-new article entitled:

11 Math Operators
This week, we will be taking a look at how we can begin to use math operators, and calculations when working with SASS. Math is math, it might look just a bit different when adding and manipulating rules and styles, but it still works primarily the same way.
So, if this sounds to be at all interesting to you then please join us for our new article this week entitled:
1 Website Setup
This week, we will be taking a look at how we can set up a website using Sass. This will be our first tutorial in this series that I will be writing on Sass. Sass is an advanced type of CSS, where you can use things like functions and variables. All though this type of thing has been enabled for CSS too, it is a lot easier to use this method of doing things, and it is also preferred.
So, if you would like to get your feet wet in this exciting somewhat new technology for styling your webpages, then please join me for my new article entitled:

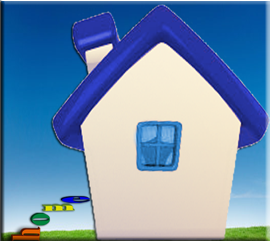
2 The SASS Folder
This week, we will be taking a look at how to set up the SASS Folder, along with some very basic code. We will be starting to build the foundation of this website. A good foundation in any learning process can be very important.
So, if this is something that you would like to learn how to do, then please join us for our brand-new article this week entitled:
3 The Home Page SASS
This week, we will be learning how to set up a home page, using SASS as our style sheet. This page will not be so hard, and if you have done any web page creation at all for the most part, except for the turning on of the Watch Sass button, everything else will be very familiar to you.
So, if this is something that you might be interested in learning a bit farther, then please join us for our brand-new article entitled:
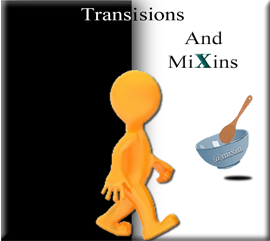
4 Transitions and Mixins
This week, we will be taking a look at how we can create a transition using a mixin, in side of a SASS style sheet. We will want to be able to use this transition in our project, so that our color change when we hover over our social media icons, will change smoothly.
So, it this is a subject that you would like to learn more about then please join us for our brand-new article this week, entitled:
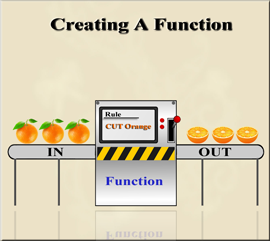
5 Creating a Function
This Week, we will be taking a look at how we can create a function to help us use our style sheets more efficiently. We want to be able to create a function to give an appropriate color to text based on the lightness of a color. And that is exactly what we are going to do.
So, if this sounds at all interesting to you then please join us for our brand-new article entitled:
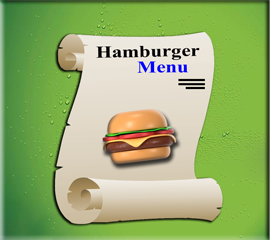
6 The Hamburger Menu
This week, we will be adding a hamburger menu to our project. This will include using a few pseudo elements to help things to work properly. It may not exactly be the type of hamburger menu that you will find in your local restaurant, but this type of thing works just fine in web developing.
So, if you would like to learn how to get 3 really great function lines on your web page, then please join us for our brand-new article this week entitled:

7 The JavaScript File
This week, we will be adding some JavaScript to our project. If we want our hamburger menu to be functional and actually do something kind-of cool, when we click on it, we will need to add some JavaScript.
So, if this tends to pique your interest, then please join us for our brand-new article this week entitled:
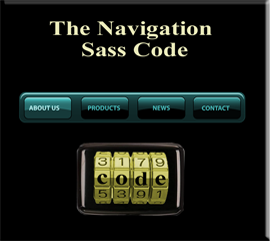
8 The Navigation SASS Code
This week, we will be learning how to add the navigation SASS code to our project. Even though we had temporarily put in a navigational menu for the project website, it is not quite the one we actually want to use. So, that one was only implemented so that we could work on things on the site up to this point. Now I will be showing you how to write the code to the system that we will be using going forward on this project.
So, if this sounds like something that you will like to take part in, then please join us for our brand-new article this week entitled:

9 Formatting Main Menu Links
This week, we will be styling, or formatting the links in the main navigational menu. This will allow our menu to do some transitional fly-ins, along with some more styling maneuvers.
So, if this sounds at all interesting to you, then please join us for our brand-new article entitled:

10 The About Page
This week, will we be looking at how to create an About page for a portfolio site. This page is nothing really fancy and will sort of work as a preliminary resume for a job interview. It will list your previous jobs and education in chronological order, so that a prospective employer can take a look at some of the skill that you have to offer.
So, is this is something that sounds interesting to you, then please join us for our brand-new article this week, entitled:

11 The Project Page
This week, we will be taking a look at how to create a project page for our portfolio site. This is the page that should get you excited because here you get to show off all of your hard work, and can be very beneficial on getting a prospective employer to be interested in you, and what you have to offer for their company.
So, if this sounds interesting to you then please join us for our brand-new article this week, entitled:
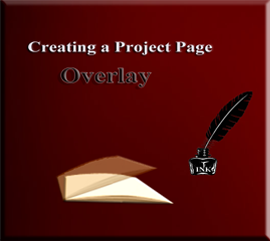
12 Creating a Project Page Overlay
This week, we will be looking at how we can create a project overlay for a page. This will be a colored rectangular shaped image that will be slightly transparent. When we hover over the element on the page which this colored area covering, it will cause the image to look as if it is rising up and covering over our portfolio images. This will be done using both pseudo elements and transitional SASS magic.
So, if this sounds at all interesting to you then please join us for our brand-new article entitled:

13 The Contact Page
This week, we will be taking a look at how to create a contact page for the project. This should not be too difficult to do; however, for my own project I redid the banner image to better accommodate the Contact page. You could either do it this way, or by making changes in the CSS to move the logo. Either way would be perfectly acceptable.
So, if this sounds at all to be something that you would like to be able to do for your own project, then please join us for our brand-new article this week entitled:
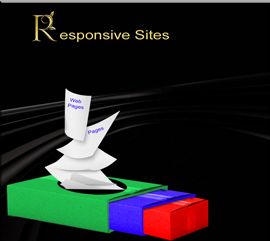
14 Responsive Sites
This week, we will be looking at how we can make our website more responsive, so that it can be viewed accurately at different device sizes. We will be using something called media queries to get things done, and just tell our site to have specific styles at specific sizes of our screen.
So, if this sounds at all interesting to you then please join us for our brand-new article entitled:

15 Setting up the Web site on GitHub
This is going to be the final week of this series on learning how to style using SASS. This week, we will actually be loading our website onto the free servers of GitHub. It might be a bit complicated if you were to strike out on your own in this journey, but don’t worry I have a very detail tutorial for this which will guide you every step of the way.
So, if this sounds at all interesting to you, then please join us for our brand-new article this week entitled:
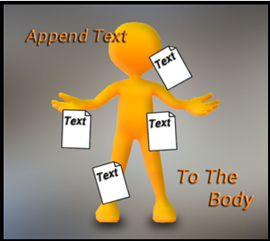
1 Append Text to the Body
This week, we will be starting a whole new series. This time we will be looking into JavaScript with our Visual Studio Code compiler, and manipulating the DOM. The DOM stands for the document object module, and we can use JavaScript to make changes to it as opposed to making our changes in HTML.
So, if this is something that you might be interested in learning just a bit more about, then please join us for our brand-new article this week entitled:
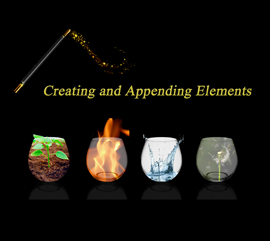
2 Creating and Appending Elements
This week, we will be taking a look at how we can create and append elements to the html document object. And once again we will be using Visual Studio Code as the compiler in which we will use to get this done.
So, if this sounds at all interesting to you then please join us for our brand-new article this week entitled:
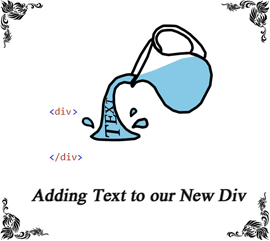
3 Adding Text to our New Div
Lorem ipsum odor amet, consectetuer adipiscing elit. Etiam tellus commodo sit tortor purus potenti facilisi faucibus luctus. Congue pulvinar sollicitudin cursus dis faucibus gravida facilisi. Tristique taciti mattis primis rutrum volutpat dictum feugiat volutpat.
Luctus nibh cubilia faucibus inceptos lectus. Potenti aptent eget ex, feugiat venenatis sociosqu primis orci placerat. Cubilia erat eros primis dictumst, natoque litora. Sed semper et fames fusce class ultricies turpis. Phasellus taciti orci bibendum tempus elit.
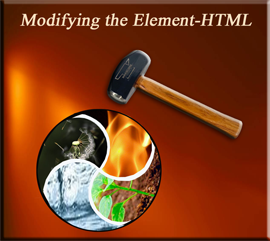
4 Modifying the Element - HTML
This week we will be taking a look at how we can modify an element such as our text in a div, which is on the web page. Let’s say we want to make our text bold, but instead of doing it in the html itself, we can actually do that inside of our JavaScript file.
So, if this is something that you might want to learn a bit more about then please join us for our brand-new article this week entitled:
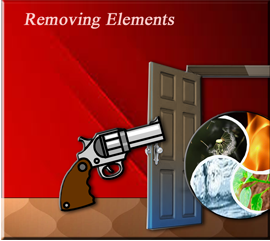
5 Removing Elements
This week, we will be taking a look at how we can remove elements in JavaScript, by using the document object model (DOM). It’s actually quite easy, we first want to select it, and then we want to throw in the word “remove.”
So, if you want to learn exactly how we go about doing something like this, then please join us for our brand-new article this week entitled:
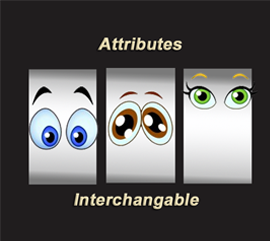
6 Attributes
This week, we are taking a look at what attributes are and how we can manipulate them in JavaScript using the document object model (DOM), and our compiler Visual Studio Code. If you want to go about describing anything on earth, you will soon realize that everything has attributes. So, what are they?
If you would like to learn a little bit more about these things, then please join us for our brand-new article this week entitled:
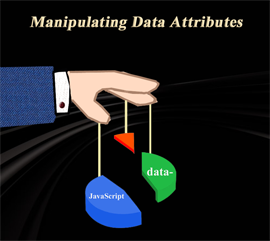
7 Manipulating Data Attributes
This week, we will be taking a look at how we can manipulate data attributes inside of an html document using Java Script. What are “data attributes,” you may ask. Well in order to get the full answer to that one you will just have to take a look at the article which is presented for this week.
So, in other words, if you would like to learn a bit more about this subject on data attributes, then please join us for our brand-new article this week entitled”

What is Blender?
This week, we will be starting an entirely new series featuring the amazing 3D free software entitled Blender. Yes, you heard me right. It is free to download for anyone who would love to get started in this fantastic world of creating 3D models, animation, and visual effects.
So, if this sounds at all interesting to you, then please join us for our brand-new article entitled:

How Do I Begin?
This week we will be taking a look at where to begin when starting to work with Blender. Well, I would think that the first thing that most people would like to do is to add an object. Sure, you can come into the program and start with the default cube that is always sitting there waiting for you, when you begin. But still, a really good place to start is to be able to start with the object that you actually want. And so that is where this tutorial will be dedicated to.
So, if this is something that you would like to learn just a bit more about then why don’t you join us for our brand-new article this week entitled:
3 Moving Around the Viewport
This week, we will be looking at how we can move around the viewport. Blender is a huge program. I am going to try and take my time and explain everything in a very clear and concise manner. Being able to see the object, and move it around in the viewport is very important, so this week will be dedicated to just that.
So, if this sounds at all interesting to you, then please join us for this week’s brand-new article entitled: