~2026 Archives~
~2026 Archives~
Click here to go to 2025 archives
7 Screen Reader Compatibility
This week, will be a very short tutorials on screen readers with Python and Tkinter. Although screen readers are not something that tkinter would explicitly deal with, there are certainly a few things that can be done to enhance your program to work with screen readers more effectively, and we will be discussing those options in this tutorial.
So, if you would like to learn a bit more about how you can aide screen readers in their endeavor to enable the handicapped to gain access to information too, then please join us for our new tutorial this week entitled:
1 Introduction to Game Maker
This week, we will be starting a new series on Game Maker. Game Maker is a free App that you can download for free online. This will be a short introduction to how you would begin working in Game Maker.
So, if you would like to know a little more about how to program games, then please join us for our brand-new article this week entitled:
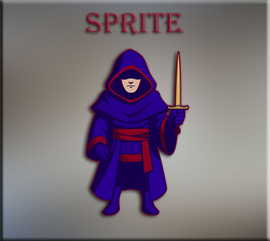
2 Bringing in Your Sprites
In this tutorial, we will be learning how to bring sprites into our game. Sprites are the faces that will be used by our assets, so that your game elements will be visible inside of the game.
So, if you would like to learn a little more about this, then please join us for our brand-new tutorial this week entitled:
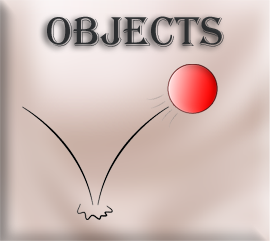
3 Creating Objects
This week, we will be taking a look at how simple it is to create an object in Game Maker. You have created your sprite in last’s weeks lesson, but that is only the face of your game elements. In order to get anything, you place into a game, to do anything. You are going to have to attach that face to an object, and I will explain how to go about doing that in this tutorial here.
So, if this at all sounds interesting to you, then please join us for this week’s article entitled:
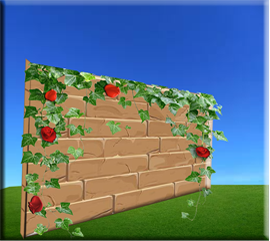
4 Adding Your Outer Walls
In this article, we will learn how to create our wall, in order to enclose our elements, especially those ones who will walk, from simply getting up and leaving the room.
So, if you would like to learn just a bit more on how to accomplish this, then please join us in our brand-new article entitled:
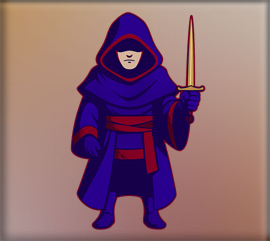
5 Bringing in Your Hero Object
In this article, we will be looking at bringing our hero onto the game board, with some code attached to him that will allow him to both move and switch the face of his sprite based on his direction. We will also be able to get a bit of feed back in the terminal when the hero reaches the door, or his exit point.
So, if you would like to learn just a bit more about how to do this, then please join us for our brand-new article entitled:
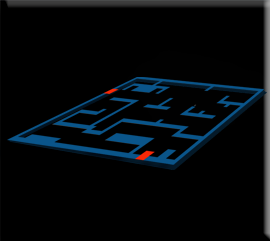
6 The OverLay and the Maze
In this tutorial, we will be taking a look at how we can create the maze section of the room by using a maze guide that will be explained here.
So, if this sounds at all interesting, then please join us for our brand-new article entitled:
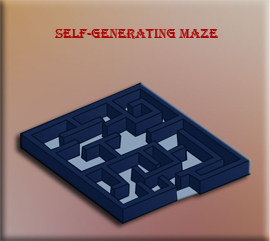
7 Self Generating Maze
This week, we will be looking at having our game create our mazes for us. This is a code intensive task, but if you follow my instructions completely, it is certainly doable and it makes things a lot easier, if you do not have to come up with your own maze for every floor. Besides, every time the player comes back to the game, the maze will be unique, making things a lot more exciting for our game.
So, if this sounds at all interesting to you, then please join us for our brand-new article entitled:
8 Objects to Throw Around Room
This week, we will be looking at how we can create a few objects to throw around the room. This would be things like, hearts, apples, and bombs.
So, if this would interest you at all then please join us for this week’s article entitled:
10 Bombs
In this article, we will be looking at how to write the code, for some bombs. We will be focusing on how to create a good bomb that we can pick up and throw, like for hitting an enemy, when we have one.
So, if you would like to learn a bit more about bombs, no not the ones that would get you into trouble with the law, but the ones that we can put into our game, then please join us for our brand-new article entitled:
11 I Need to Escape
In this section we will be creating a bit of error fixing code, in case our hero gets into trouble, and finds that he spawned himself right inside of the wall inside of a dungeon. This code, when initiated, will cause the hero to jump out of the wall and into an open corridor.
So, if this is something that you would like to learn just a little bit more about, then please join us for our brand-new article, entitled:
12 On Screen Messages
In this article, we are discussing how we can create a sort of message board that the player can use to keep track of the items that they might have, or do not have.
So, if you would like to learn just a bit more about this, then please join us for our brand-new article entitled:
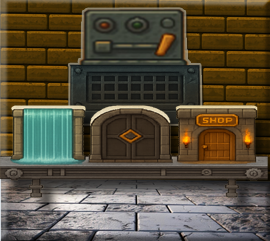
13 Door System
In this tutorial, we will be starting to build our door system. In the Dungeon Crawler game, we will want to have a variety of different doors, which can be coded to take the hero to various areas, in the game.
So, if you are ever in need of a door system to be generated in your own game, and would like to know how to go about it, then please join us for our brand-new article this week entitled:
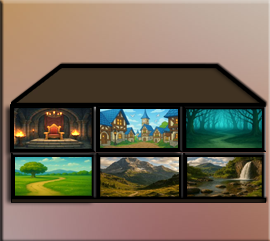
14 Creating the Different Rooms
In this tutorial, we will be taking a look at how to create the different rooms, or areas, in which our new doors can take us to.
So, if you would like to learn just a bit more on how to create backgrounds, that your character can land himself in, then please join us for our brand-new tutorial entitled:
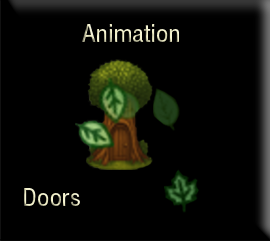
15 Animation for Doors
In this tutorial, we will be looking at writing the code to give our doors some special effects. Yes, we will be animating those effects right in Game Maker’s code panel and giving them a bit of razzle-dazzle.
So, if you would like to learn a bit more on how to go about doing this, then why don’t you join us for our brand-new article entitled:
16 Creating Enemies
In this tutorial, we will be discussing how to create a complete Fighting system between an enemy and the hero object. This will be complete with animation strips and a new fighting room.
So, if this is something that you would like to learn about then please join us for our brand-new article entitled:

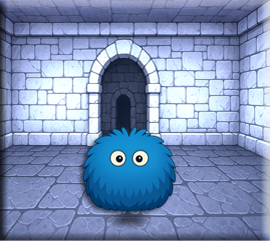
17 Creating a Bouncing Slime
In this tutorial, we will be concentrating on creating a different slime from the one that we are using in the Fight room. That is because the slime in the dungeon maze should be smaller to fit comfortably inside of the corridors, and we will also be animating it with a bit of a bounce and a lunge whenever, the hero comes within sight of the creature.
So, if you would like to learn just a bit more about how to do this, then please join us for our brand-new article entitled:
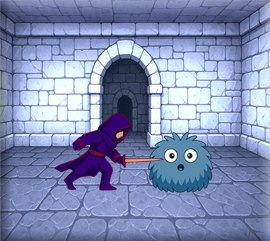
18 Perfecting the Fight
In this tutorial, we will be going back into our fight room object code and making a few changes, to create a more convincing fighting illusion, between the two characters.
So, if you would like to follow along, then please join us for our brand-new article this week entitled:
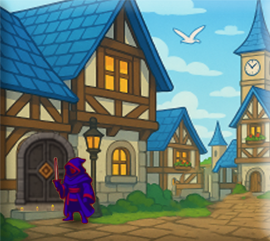
19 Getting Back in the Door
In this tutorial, we will be throwing a door into the town, so when we are kicked out, when the hero dies, we can get back in without having to restart the entire game. We will also be writing a small bit of code, to create a keypress event to get back to the fight room. The fight room is not using a door, but a monster collision event, so to test it we will simply create a temporary F1 keypress.
So, if this sounds interesting to you, then please join us for our brand-new tutorial entitled: